


Instead of improvising a lift every time your dog stands up, build a veterinarian-approved dog mobility brace harness routine: fit each device separately, check them together, and rehearse the assistance your dog needs. A mobility brace supports a specific limb or joint; a support harness gives you a way to assist your dog's body—not every dog needs both.
- A dog mobility brace harness setup needs veterinary approval; a joint brace and lifting harness perform different jobs.
- Fit the brace and support harness separately before checking overlap, skin contact, and assisted movement together.
- An ordinary walking harness is not a lifting harness unless its manufacturer explicitly permits lifting.
- K9 Outdoors suits active-dog owners shopping for outdoor gear alongside a veterinarian-led mobility plan.
Why this matters
A handle does not prove a harness is safe for lifting. Likewise, a brace that stays on your dog's leg is not necessarily positioned correctly. Equipment must match the diagnosis, body shape, and task.
When browsing K9 Outdoors for outdoor dog gear in 2026, separate everyday walking equipment from devices intended for assisted mobility. Product styling, padding, and reassuring names do not establish medical suitability.
The goal is a repeatable routine for standing, supported walking, and necessary bathroom trips. It is not permission to resume hiking. Your veterinarian sets the activity restrictions; the equipment helps you follow them.
Before you start
- Get a handling plan. Ask your veterinarian whether your dog needs a brace, a support harness, or both. Confirm permitted movement, weight-bearing restrictions, wear schedules, skin checks, and the correct assistance technique.
- Gather the right materials. Have the exact devices, their current instructions and size charts, a flexible measuring tape, a nonslip surface, and a written measurement record. Arrange a second capable adult if the prescribed handling requires help.
- Check the overlap before buying. A harness panel or rear-leg loop can occupy the same space as a brace strap. Ask the manufacturer and veterinarian about compatibility, including incision clearance and bathroom access; do not assume separate good fits will work together.
Keep the actual instructions with your 2026 setup record. Different designs use different landmarks, closures, and adjustment sequences, so generic fitting rules cannot replace the supplied directions.
Choose the support category
The phrase dog mobility brace harness combines equipment with distinct purposes. Use the task—not the appearance—to identify what belongs in your dog's plan.
| Equipment | Best for | Practical benefit | Limitation |
|---|---|---|---|
| Joint-specific mobility brace | Dogs whose veterinarian recommends support for a particular joint or limb | Targets the prescribed area | Requires correct positioning; does not replace body assistance |
| Rear-support harness | Dogs prescribed help supporting the hindquarters | Gives the handler designated support points | Does not provide joint-specific stabilization |
| Full-body support harness | Dogs prescribed assistance at both front and rear | Provides support across the body according to its design | Adds fitting complexity and can overlap other equipment |
| Everyday walking harness | Dogs needing leash attachment during approved walks | Provides an attachment point for walking control | Is not lifting equipment unless explicitly approved for that purpose |
Choose the least complicated setup that fulfills the prescribed task. Extra straps add contact points and adjustment work. They do not automatically add useful support.
Your measurement record
- Identify the exact equipment. Record the manufacturer, model, size, and intended side or limb. Check orientation against the supplied diagram before putting anything on your dog. A similar-looking brace for another joint is not interchangeable.
- Measure the listed landmarks. Follow each device's chart separately. A harness can require chest or body measurements, while a brace can require measurements around specific parts of the limb. Do not substitute breed, age, or body weight for a required circumference.
- Write down the units. Keep inches and centimeters clearly labeled. One inch equals 2.54 centimeters, but use the manufacturer's preferred units to avoid unnecessary conversion errors. Never round a measurement simply to make your dog fit a size.
- Resolve borderline sizing. Send the manufacturer the requested measurements and discuss the recommendation with your veterinary team. Do not automatically choose smaller for extra support or larger for comfort.
Expected result: You have a separate sizing decision for each device, with no guessed measurements or unresolved orientation questions.
A useful record includes the measurement location, value, unit, and date—not just the final size. For a 2026 fitting, keep those details together so another caregiver can check the same landmarks rather than starting over.
The brace fit
- Prepare the contact area. Check the skin where the brace will sit. Report redness, swelling, wounds, or discharge before fitting. Follow your veterinarian's instructions around surgical sites; do not cover an incision or add a liner without approval.
- Position the brace as directed. Match the device's orientation and joint landmarks to its instructions. Do not force the leg into a different position to make the brace align. If alignment requires force, stop and request a fitting review.
- Fasten the closures in order. Use the manufacturer's sequence and tension guidance. There is no universal finger-clearance rule for every brace. Do not add tape, extra padding, or another strap to compensate for a slipping device.
- Check the prescribed positions. With your dog supported as instructed, inspect the brace while standing and during any permitted position changes. Look for folded material, displaced padding, and straps that migrate across a joint or sensitive area.
- Record the starting fit. If your veterinary team requests photos, take clear front, side, and rear views without asking your dog to perform unapproved movements. Keep the images with the device instructions for a later fit review.
Expected result: The brace matches its intended landmarks without forced positioning, trapped skin, or an unresolved pressure point.
A quiet dog is not proof of comfort. Watch for pulling away, repeated licking, guarding, or a change in how your dog uses the limb. Stop the fitting attempt if handling becomes painful or unsafe.
The harness fit
- Verify the support function. Check that the harness instructions explicitly describe the assistance your dog needs. A leash ring, back handle, or thick fabric alone does not establish lifting suitability. Confirm any stated use restrictions before applying support.
- Fit the harness independently. Follow its adjustment order before introducing the brace. Keep webbing flat, move trapped fur out of closures, and check that buckles are fully engaged. Do not tighten a walking harness into an improvised lifting sling.
- Check body and bathroom clearance. Inspect the chest, armpits, abdomen, groin, and any rear-leg loops. Make sure the prescribed configuration allows breathing and elimination without straps contacting sensitive areas. Recheck clearance when posture changes.
- Set the handler position. Have your veterinary team demonstrate the handle position and direction of support. Adjust the equipment as its instructions permit so you can assist without pulling your dog sideways or adopting an unstable stance.
Expected result: The harness sits in its intended position, its support points are confirmed, and you understand how to use them.
Do not test a harness by suspending your dog. Assisted standing and full-body lifting are different tasks. If you cannot provide the prescribed assistance comfortably, ask for a different device, a second-handler technique, or another transfer plan.
The combined movement check
- Apply both devices in the approved order. Use the sequence established by the manufacturers and your veterinary team. Check that adding the harness has not shifted the brace and that brace closures remain accessible for inspection.
- Inspect every overlap. Trace the straps and edges by sight. Look for a harness loop pressing on a brace closure, a brace edge beneath a load-bearing panel, or equipment contacting an incision. Do not reroute straps outside the instructions to make things fit.
- Rehearse only permitted movement. Begin on a clear, nonslip surface. Use the assistance already demonstrated by your veterinary team, allowing your dog to bear weight only as directed. Avoid turns, stairs, or transfers that have not been cleared.
- Pause and inspect again. Check for rotation, bunching, changed posture, or a new limp. Follow the prescribed removal and skin-check schedule. Record where any mark appears and whether the equipment moved.
- Confirm the routine with every caregiver. Have each helper demonstrate the same closures, support points, and stopping rules. Keep the written instructions beside the equipment rather than relying on memory.
Expected result: The brace and harness retain their intended positions during approved assistance, with no unresolved interference or new discomfort.
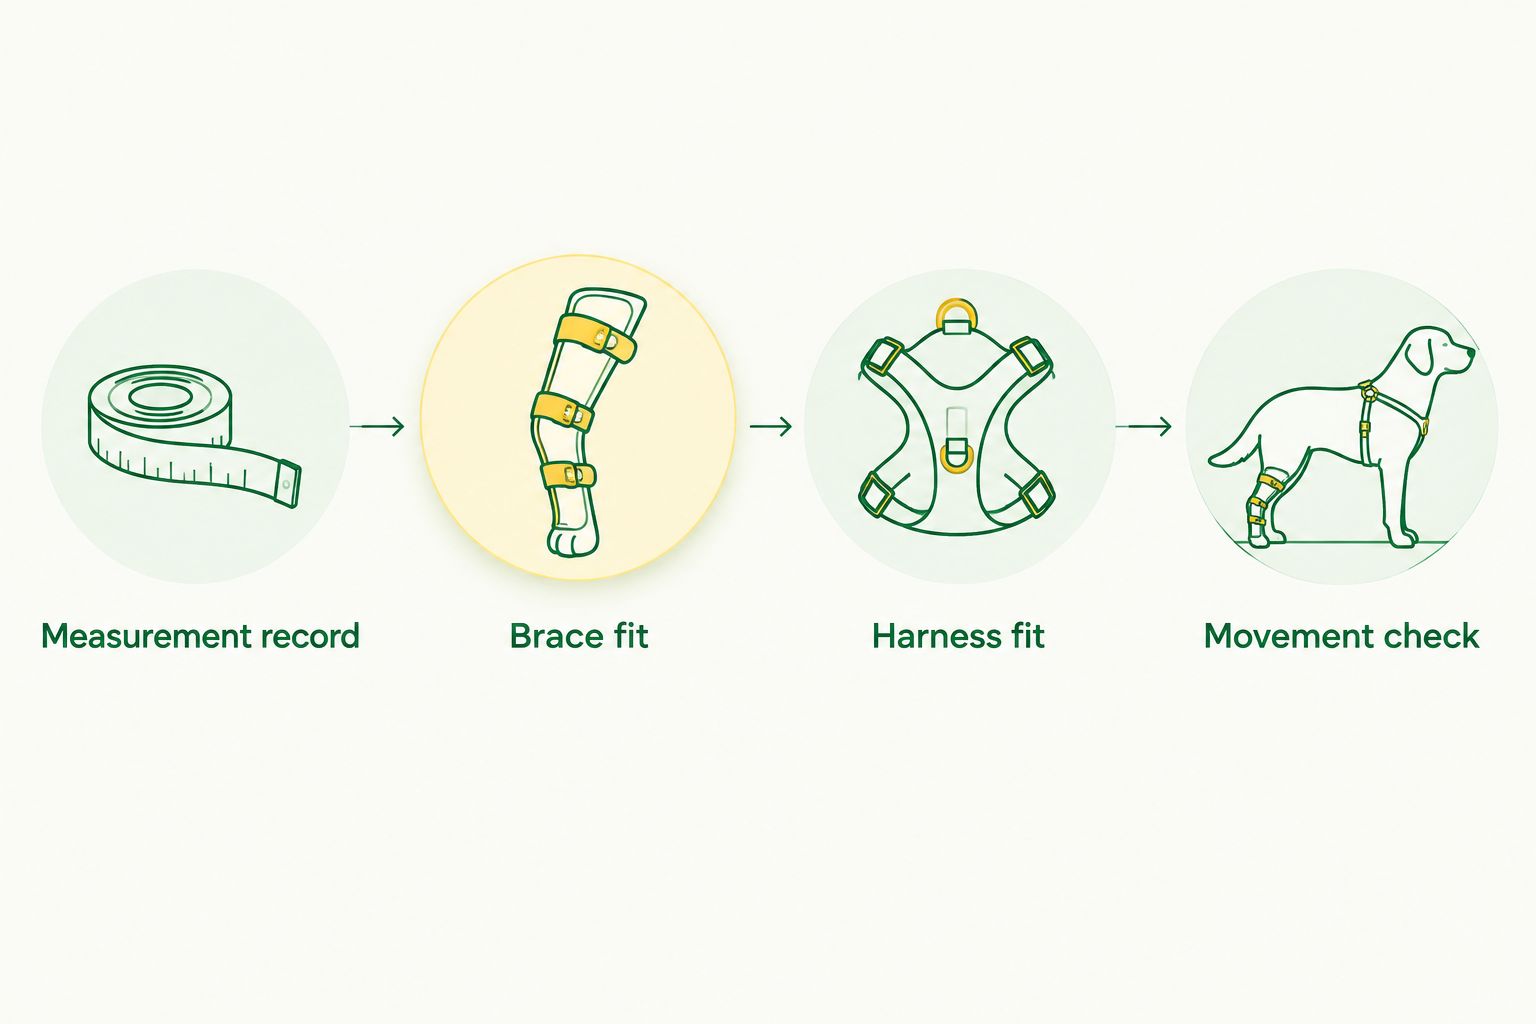
For your 2026 routine, treat a changed fit as a reason to reassess—not a reason to tighten everything. Swelling, coat condition, and body changes can affect how equipment sits. Ask your veterinary team which changes require a new fitting.
Bathroom trips with an approved support harness
Some dogs need body assistance without a joint brace. A support-harness-only routine is appropriate when that is the veterinary recommendation, not simply because it is faster to put on.
Use the same harness checks before leaving the resting area. Clear the route, secure footing, and prepare the door before helping your dog stand. Avoid managing a moving dog while reaching for handles or clearing obstacles.
At the bathroom area, check that the harness remains clear of the genitals and does not become soiled. Use only the assistance your veterinarian demonstrated. Do not change the support position to encourage squatting without checking the technique first.
Afterward, follow the device's cleaning and drying instructions. Ask whether the harness should remain on between trips; daytime use does not establish suitability for sleeping or unattended wear. If a brace is prescribed for these trips, do not omit it without approval.
Troubleshooting
The brace rotates or slides
Stop the activity and check the size, orientation, and fastening sequence against the instructions. Do not solve movement by repeatedly increasing strap tension. Send the manufacturer or veterinary team photos of the fit and explain when the rotation occurs.
The harness pushes against the brace
Stop using the combined configuration until the overlap is resolved. Recheck whether each device sits at its intended landmarks. If correct positioning still creates interference, request a different compatible design rather than modifying either device.
Skin looks red, damp, or rubbed
Stop the session and follow your veterinary team's instructions for removal and assessment. Report persistent redness, broken skin, swelling, or discharge. Do not apply creams beneath the equipment or add padding without advice; both change the contact conditions.
Your dog freezes or resists the setup
Pause and separate unfamiliarity from discomfort with your veterinary team. Do not pull your dog forward by the support handles or force a painful leg through an opening. Ask about gradual, reward-based introduction within the activity restrictions.
The support feels unsafe for the handler
Stop before attempting stairs or a transfer. Ask for a handling demonstration and equipment review, especially if you must twist, reach, or pull sideways. Sudden inability to stand, severe pain, or rapid deterioration needs veterinary attention—not another strap adjustment.
Customize your workflow
K9 Outdoors is best for active-dog owners shopping for outdoor gear alongside a veterinarian-led mobility plan. Equipment shopping follows the clinical decision; it does not replace it.
Build a small care station beside your dog's resting area. Keep the approved devices, measuring record, cleaning instructions, and care notes together. Separate walking gear from support equipment so a helper cannot mistake one for the other.
If your veterinary team clears an everyday walking harness with a control handle for approved walks, the Magnetic Dog Harness with Handle is one design to assess against the supplied instructions. For limb-specific support, products such as the NeoAlly 3-in-1 front leg splint brace illustrate the brace category your veterinarian may recommend; verify the exact model and size with your clinical team before ordering.
Use a dated 2026 care log to record fit changes, skin observations, bathroom access, and handling difficulties. Describe what happened rather than diagnosing it: a strap moved toward the armpit, a brace turned after standing, or assistance required an awkward reach.
Change only what the instructions and veterinary team permit. When several caregivers help, update the shared record after an approved adjustment. A repeatable setup is more useful than a collection of undocumented tweaks.
FAQ
What's the difference between a dog mobility brace and a support harness?
A dog mobility brace supports a particular joint or limb, while a support harness lets a handler assist the dog's body. Your veterinarian determines whether your dog needs either device or both.
Can my dog wear a mobility brace and harness together?
Your dog can use both only when the combined setup is appropriate for the diagnosis and the devices do not interfere. Have your veterinarian check compatibility, fit, and the assistance technique before use.
Can I lift my dog with a regular walking harness?
Do not lift your dog with a walking harness unless its manufacturer explicitly approves that use. A back handle or padded panel does not establish that the harness supports lifting.
How tight should a dog mobility brace harness be?
Follow the separate tension instructions for the brace and harness rather than using one universal tightness rule. Ask for a fitting review if the equipment slips, pinches, or changes your dog's movement.
How long should my dog wear a mobility brace each day?
Your veterinarian and the device instructions determine the wear schedule. Do not copy another dog's schedule or extend wear because your dog appears comfortable.
Can my dog sleep in a mobility brace or support harness?
Do not assume either device is suitable for sleep or unattended wear. Follow the specific veterinary plan and manufacturer instructions, including removal and skin-check requirements.
Can my dog return to hiking while wearing a brace?
A brace does not provide clearance to return to hiking. Your veterinarian sets the permitted distance, terrain, and activity based on your dog's condition and recovery.
One last thing
Check the exit route before checking the straps. A well-fitted setup cannot remove a slippery doorway, an unexpected step, or an obstacle between your dog and the bathroom area.
For a K9 Outdoors mobility-gear routine, prepare the environment first and fit the approved equipment second. Keep the necessary trip predictable; save the next adventure for veterinary clearance.